November 14, 2026
Building an Orthomosaic from Raw Drone Photos
By @skymappingjournal
What an Orthomosaic Is and Why You Might Want One
A single drone photo covers only a small patch of ground. Stitch dozens or hundreds of those images together and you get a seamless, geometrically corrected map called an orthomosaic. Unlike a simple photo collage, an orthomosaic has a consistent scale across the whole area, so you can measure distances, areas, and volumes accurately. This kind of output is standard in surveying, agriculture, construction, and environmental monitoring. The process requires careful planning in the field and thoughtful work in software, but the basic steps are the same whether you are mapping a field or a construction site.
Step 1: Capture Imagery with the Right Overlap
Orthomosaic quality begins in the air. The drone camera needs to shoot with enough overlap between adjacent images so the photogrammetry software can find common points. A front overlap of 75% to 85% and a side overlap of 60% to 70% is typical for mapping. Flying too fast or too high reduces overlap and creates gaps that the software cannot fill. Most flight planning apps let you set these values before takeoff. Check the ground sampling distance (GSD) as well, the smaller the GSD, the finer the detail in the final mosaic. For most applications, a GSD of 1 to 3 cm per pixel works well. Watch the lighting conditions too. Overcast skies produce even light and fewer harsh shadows, which helps the stitching algorithms match features across images.
Step 2: Organize and Inspect Your Raw Imagery
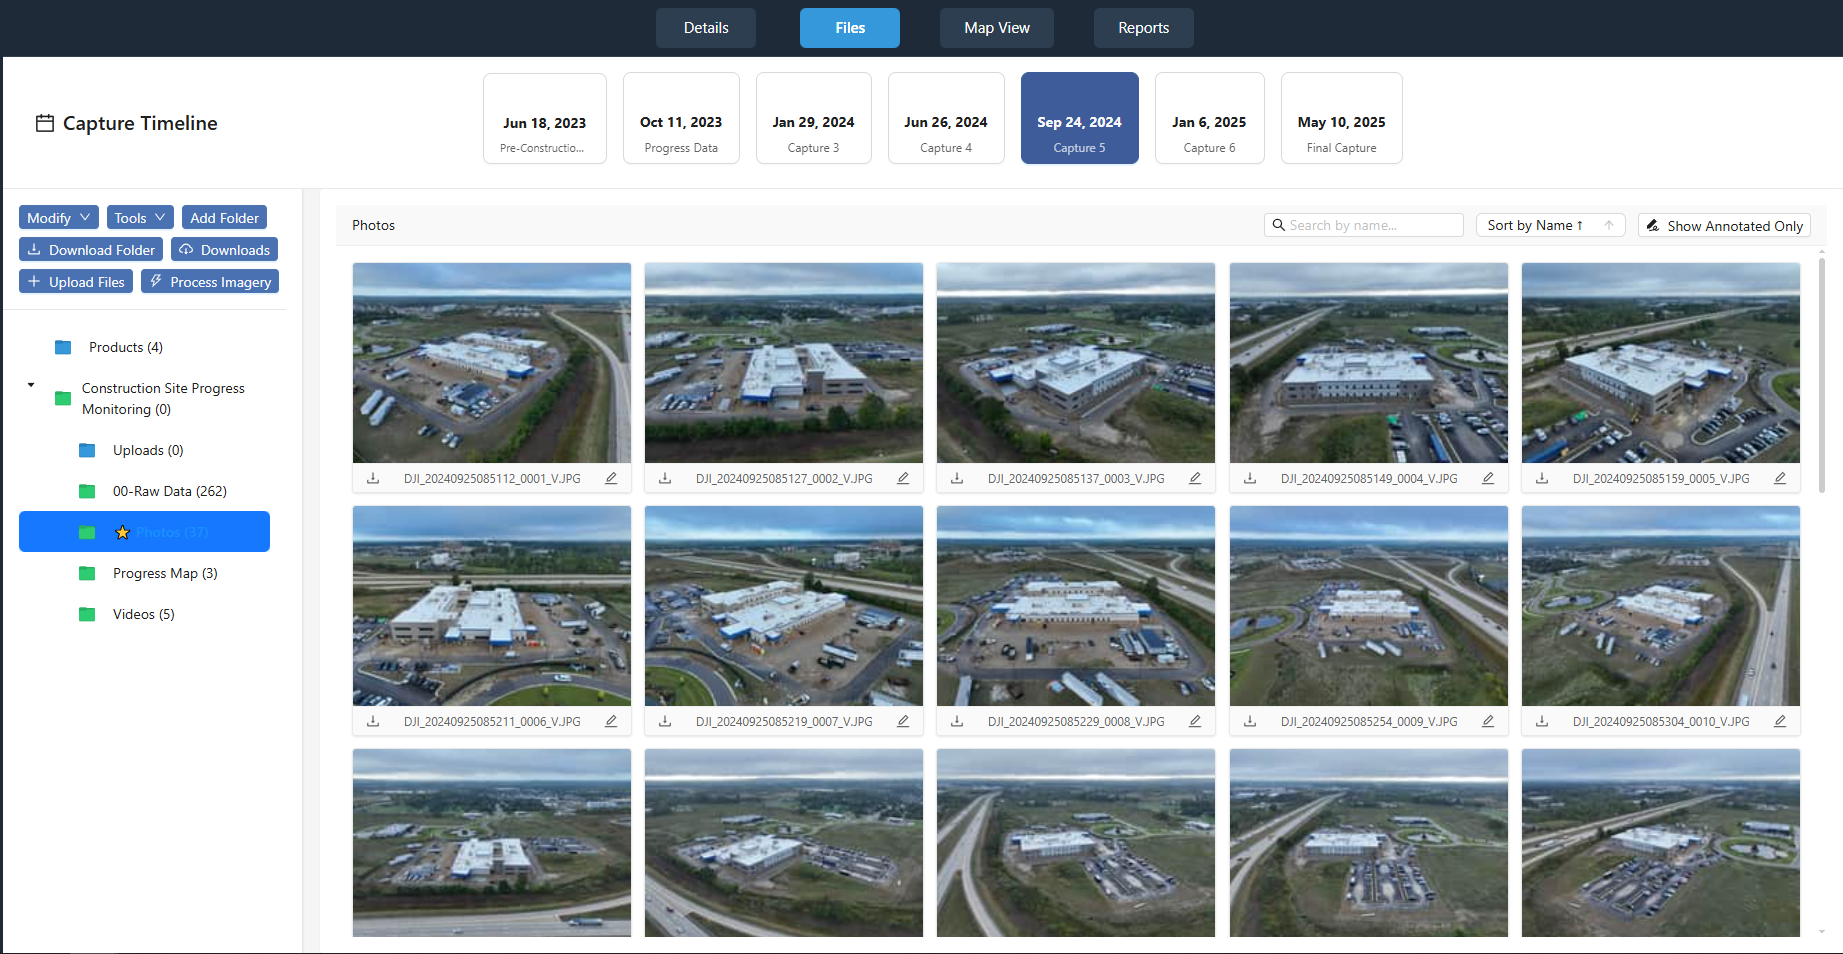
Once the flight is done, transfer the images to a computer and review them. Remove any frames that are blurry, overexposed, or taken while the drone was turning sharply. Blurry images confuse the feature-matching step and introduce errors in the mosaic. Also check that the GPS coordinates embedded in each image file are present and consistent. These coordinates give the software a starting point for alignment. If your drone writes coordinates in a coordinate system you do not recognize, note that you may need to reproject them later. A good habit is to keep the original files untouched and work on copies. That way you can always go back if a processing step goes wrong.
Step 3: Load Images into Photogrammetry Software
Specialist photogrammetry tools handle the heavy lifting of aligning, warping, and blending images. You load the entire set of raw images into a project, and the software reads the embedded GPS data and image metadata. It then searches for matching points, called tie points, that appear in overlapping areas of two or more images. This process, known as image alignment or bundle adjustment, builds a sparse point cloud of the scene. The software also estimates the camera position and lens distortion for every shot. If you have ground control points (GCPs) measured with a GPS rover or total station, you can import those at this stage to improve absolute accuracy. Without GCPs, the mosaic will still look good but may have small positional errors relative to real-world coordinates.
Step 4: Georeference and Refine the Point Cloud
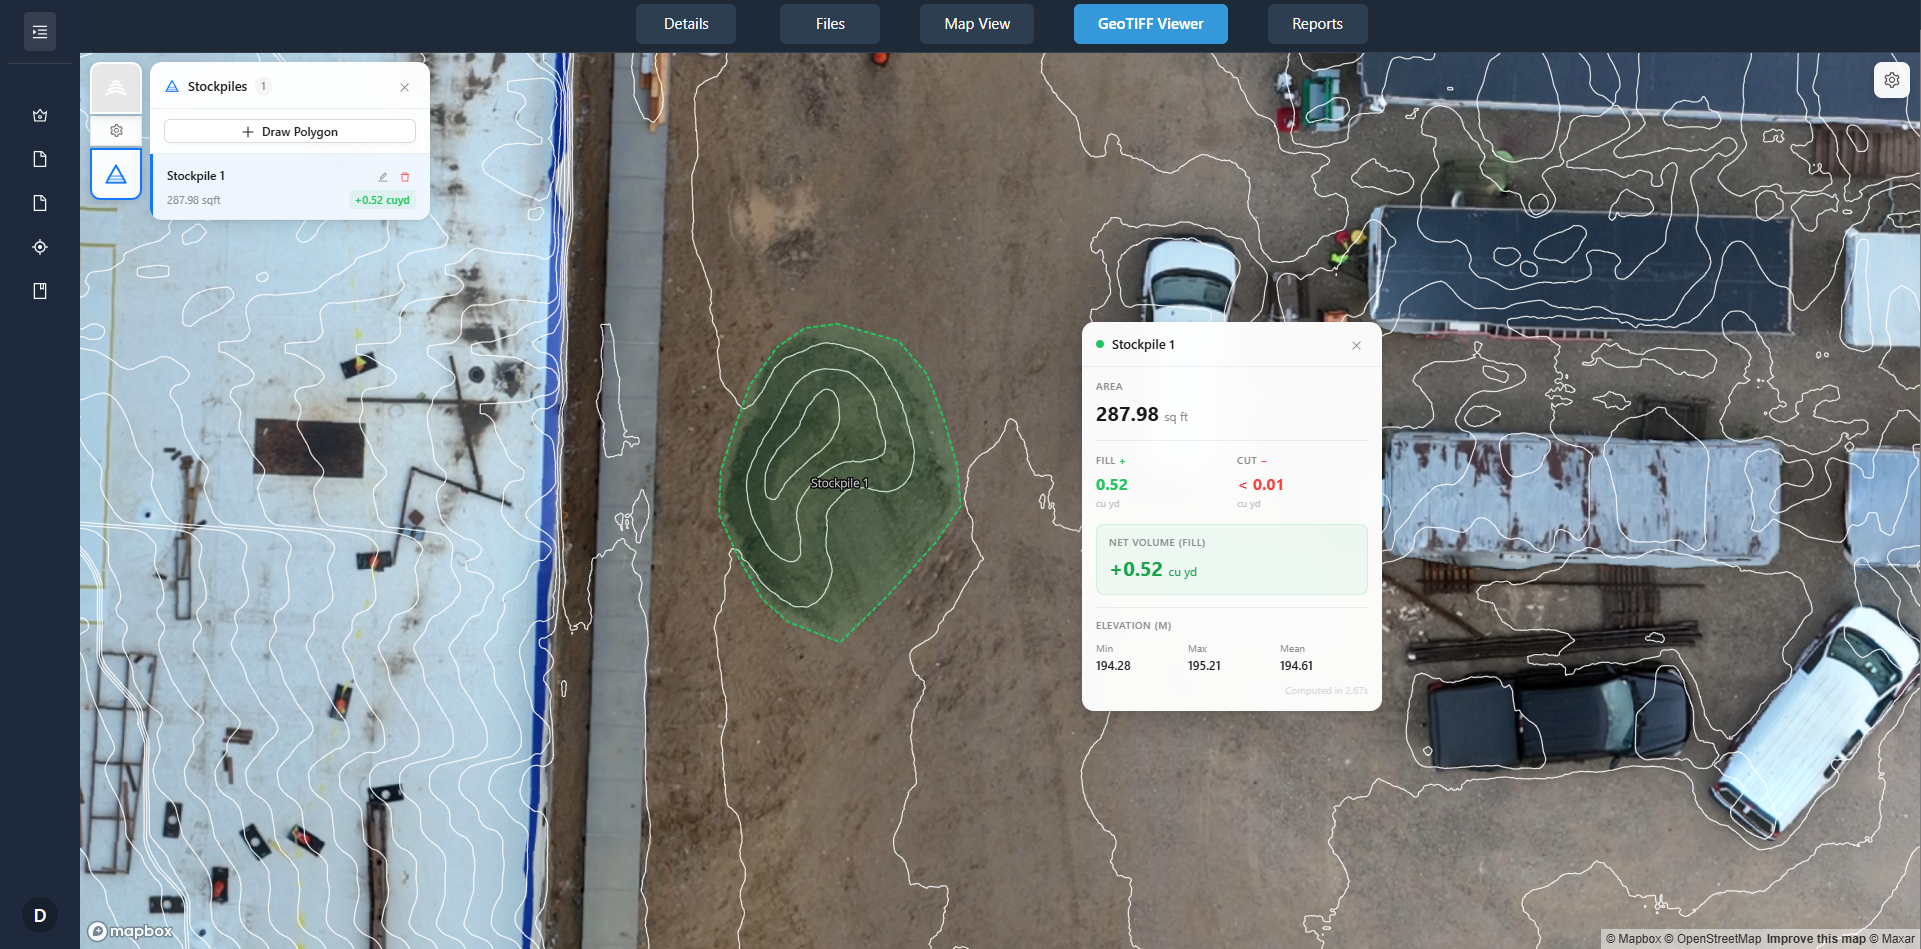
After alignment, the software produces a denser point cloud and assigns geographic coordinates to each point. This step is georeferencing. The quality of georeferencing depends on the accuracy of the initial GPS tags and any GCPs you added. Most programs let you review the alignment visually and manually adjust tie points that look off. Spend a few minutes checking the worst areas, edges of the survey area, areas with repetitive patterns like crops or grass, and places where the drone may have lost GPS signal briefly. Correct any obvious misalignments before moving on. The output at this stage is a set of georeferenced images, each still separate but now positioned correctly in the coordinate system you chose.
Step 5: Generate the Orthomosaic
With the images aligned and georeferenced, the software can blend them into a single, seamless mosaic. It chooses the best exposure and color balance for each pixel, typically from the image whose camera was closest to the ground at that point. The result is an orthorectified image, meaning it has been corrected for perspective distortion caused by the camera angle and terrain height. In flat areas the correction is subtle, but in hilly terrain the difference is dramatic. After the mosaic is built, you can export it as a GeoTIFF, which preserves the spatial reference, or as a JPEG or PNG for simpler use. The GeoTIFF is the format you want if you plan to bring the orthomosaic into GIS software for further analysis.
Step 6: Check Quality and Fix Common Issues
No orthomosaic comes out perfect on the first try. Look for visible seams where two images meet, color mismatches between strips, or blurry patches where the drone was moving too fast. Some software includes a seamline editor that lets you redraw the boundaries between images to avoid cutting through buildings or trees. If you see dark or bright bands, the exposure settings may have varied between flights. Re-running the color-balancing tool often fixes this. Another common problem is a lack of sharpness in the mosaic. This usually traces back to a GSD that was too large for the area or to images taken in low light. The only fix is to re-fly with better settings. A reliable orthomosaic should look crisp at 1:1 zoom and have no visible join lines anywhere.
Working with the Output
Once you have a clean orthomosaic, you can use it to measure distances and areas, create contour lines, or overlay it with other data layers. Many drone data platforms, such as nationaldroneservices.net, allow you to upload the orthomosaic and share it with clients through a secure portal. The platform handles the heavy storage and lets viewers pan, zoom, and annotate without needing GIS software on their own machines. This kind of workflow is especially useful when you need to deliver a finished map to someone who does not work with raw drone imagery. The orthomosaic becomes the single source of truth that both you and the client can refer to.
Common Pitfalls to Watch For
The biggest mistake beginners make is skimping on overlap. Even a 60% front overlap can leave gaps if the terrain is uneven or the drone flies a crooked path. Always plan for extra overlap and a slower flight speed. Another pitfall is ignoring lens distortion. Every drone camera has some barrel or pincushion distortion, and the photogrammetry software must apply a calibration profile to correct it. If you use an unfamiliar camera, look for a pre-made calibration file or run a calibration grid flight first. Finally, do not forget to set the correct coordinate system for your region. A mismatch between the image coordinates and the output coordinate system can shift the mosaic by hundreds of meters. Checking the coordinate system early saves a lot of rework later.
Software Choices and Workflow Tips
There are several photogrammetry packages available, from free and open-source options like OpenDroneMap to commercial suites like Pix4Dmatic, Agisoft Metashape, and RealityCapture. All follow the same general pipeline: import images, align, build a point cloud, georeference, and export an orthomosaic. The differences lie in ease of use, processing speed, and the quality of the automatic tie-point matching. If you are processing large areas with hundreds of images, a package that supports GPU acceleration can cut processing time from hours to minutes. Most programs also let you export a point cloud in LAS or LAZ format if you need a digital surface model alongside the orthomosaic.
For those who want a streamlined delivery experience, platforms like nationaldroneservices.net provide a simple way to share the final product with stakeholders. The key is to treat the processing pipeline as a repeatable workflow. Once you find settings that work for your camera and typical terrain, save them as a template. That way each new project starts from a proven baseline, and you only need to adjust the GCPs or overlap settings when the site conditions change. Over time, the process becomes fast and predictable, and you can focus more on interpreting the results than on troubleshooting the software.
Keeping the Workflow Efficient
Batch processing is your friend. Most photogrammetry programs let you queue multiple projects overnight. Set the export format to GeoTIFF and the resolution to match your original GSD. If you need a lower-resolution version for quick viewing, export a second copy as a JPEG or a compressed ECW file. Label each output clearly with the date and project name so you can find it months later. A little discipline in file naming saves hours of searching when a client asks for an earlier deliverable.
Orthomosaic generation is a skill that improves with practice. The first few attempts may show seams, color shifts, or alignment errors, but each project teaches you something about your camera, your flight planning, and the terrain you are mapping. Stick with the basic steps, proper overlap, clean imagery, careful alignment, and a quality check before export, and you will produce maps that are accurate enough for real-world measurements.
❧